Getting Started with Prompts
What is a prompt?
In the world of LLMs and GPTs and AIs, a Prompt is a text instruction, or set of instructions. For example:- Explain the Crusades
- Why can’t we see infrared?
- Give me a vegan bolognese recipe without soy
- What are common reasons for missing a plane?
How do Prompts work?
Besides the usual way of prompting a model with a question like those above, it’s also possible to store instructions that will be applied to the prompt performing the request. This can also be understood as predefined instructions for an app. Let’s understand what this means:- When requesting a model
Mvia our appA, we ask for something specific:Hello World! - Before that, however, we specify that all prompts to app
Ashould do a certain transformation to the prompt:Translate to German: ... - This will result on the model
Mreceiving, through the appA, the text:Translate to German: Hello World! - The response generated will be
Hallo, Welt!
How to add a custom Prompt to an App?
1
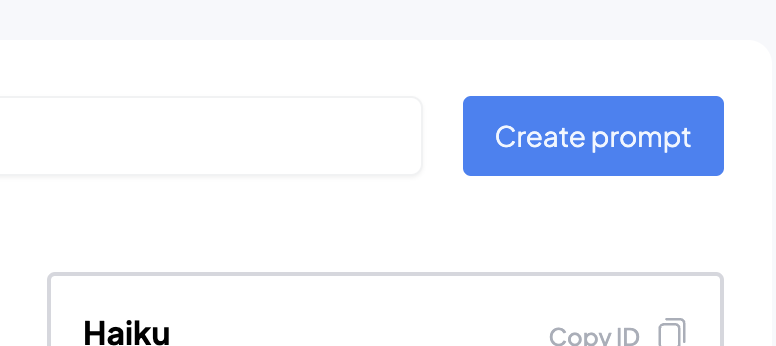
Create a Prompt
To create a prompt, navigate to Prompts and click on “Create Prompt”:
2
Customize the prompt
Enter the desired prompt, without forgetting the placeholder 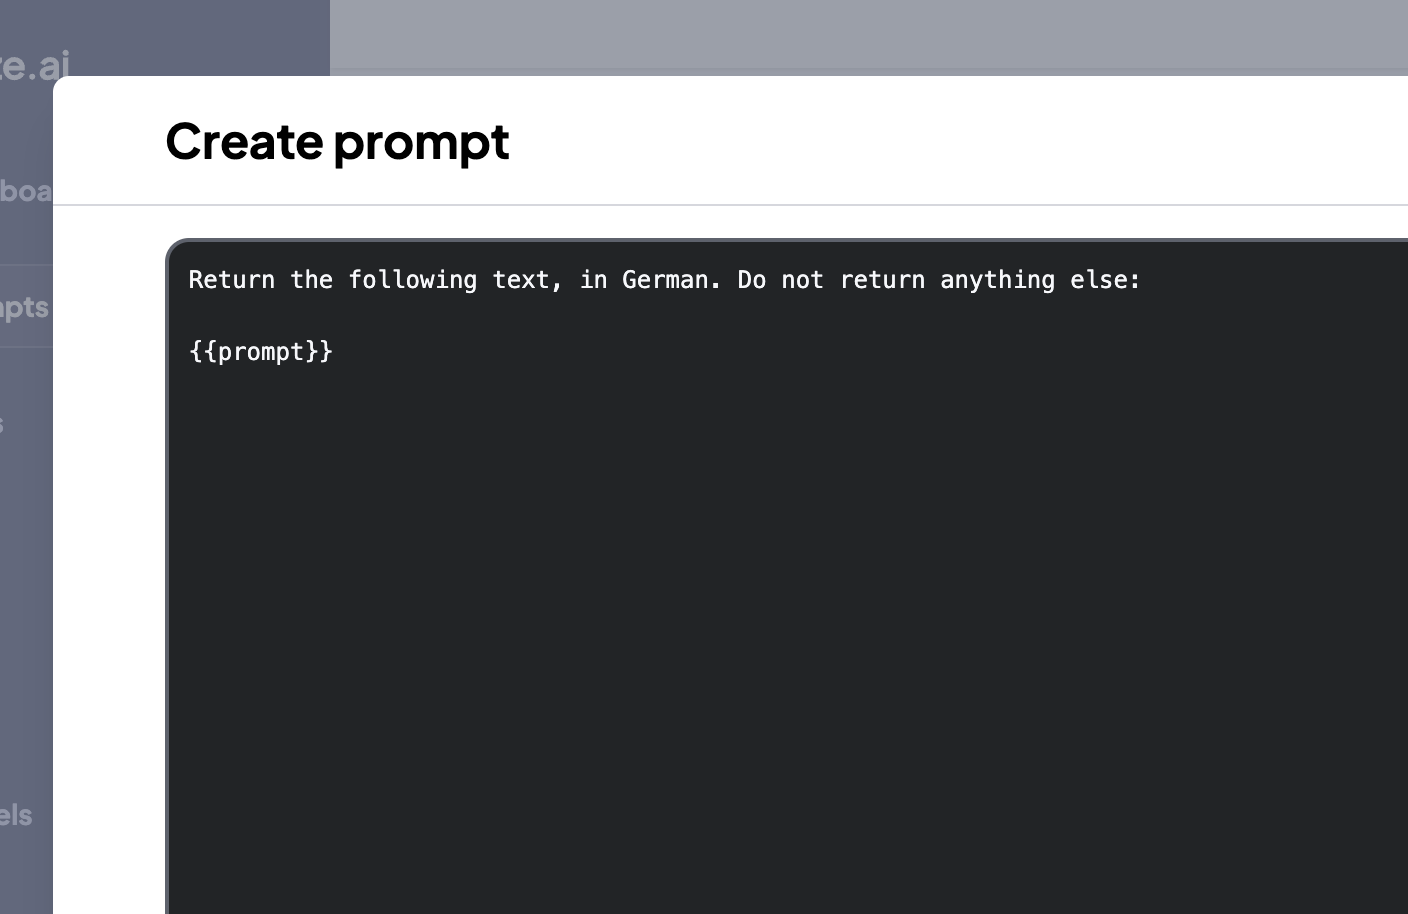
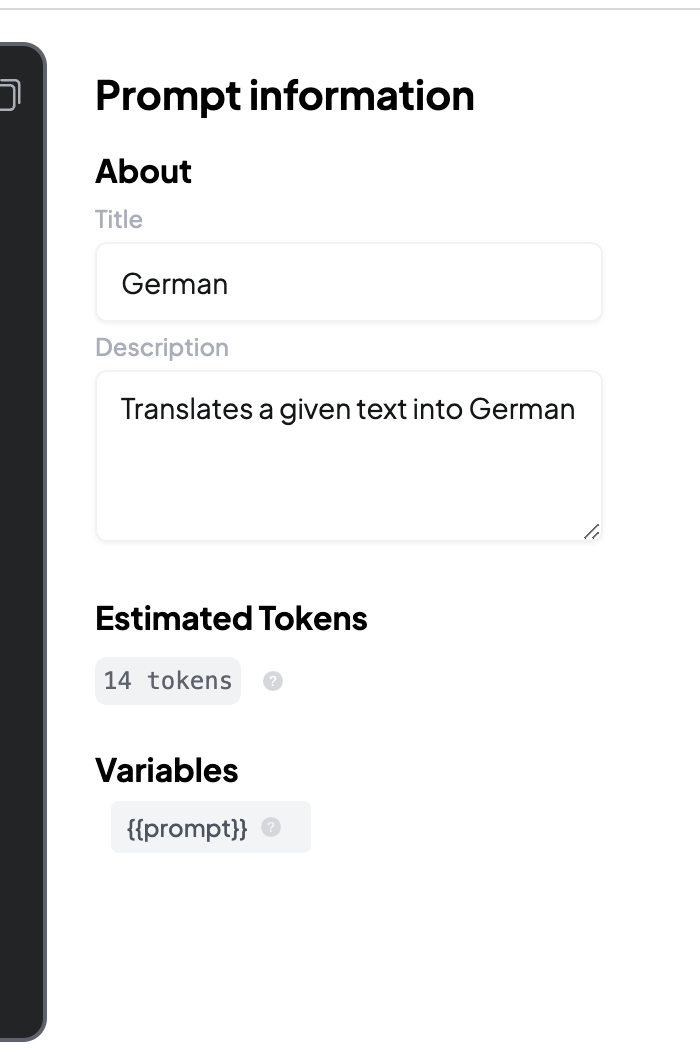
{{prompt}}. Then, enter the Title/Description and click Save3
Create an App and go to Settings
Create an App (in our case, we call it 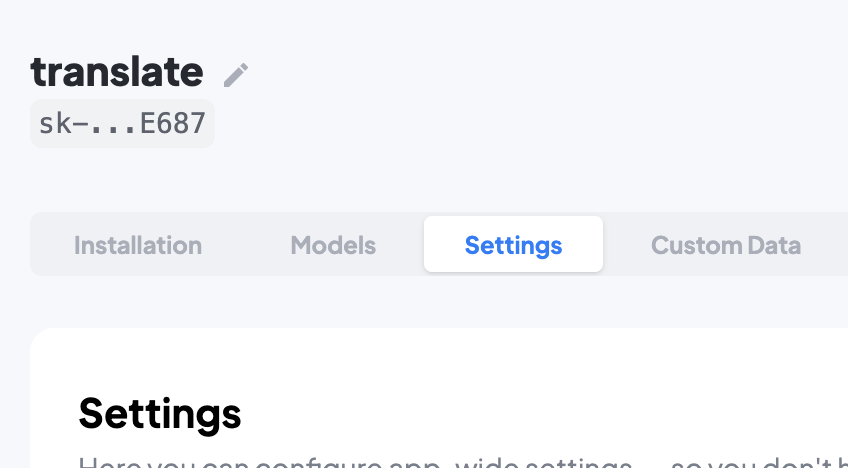
translate) and go to the App Settings page4
Configure App to use the Prompt
To connect this App to the Prompt we just created, we scroll to the bottom of the Policies. In particular, to the 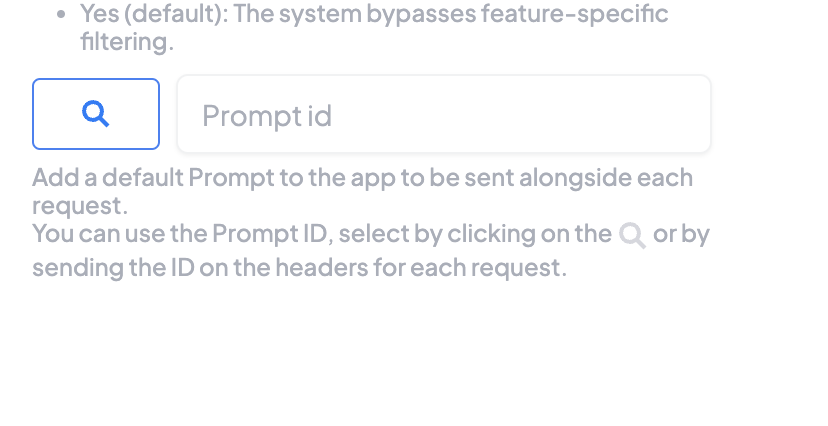 We select a prompt by clicking on it, and confirm selection
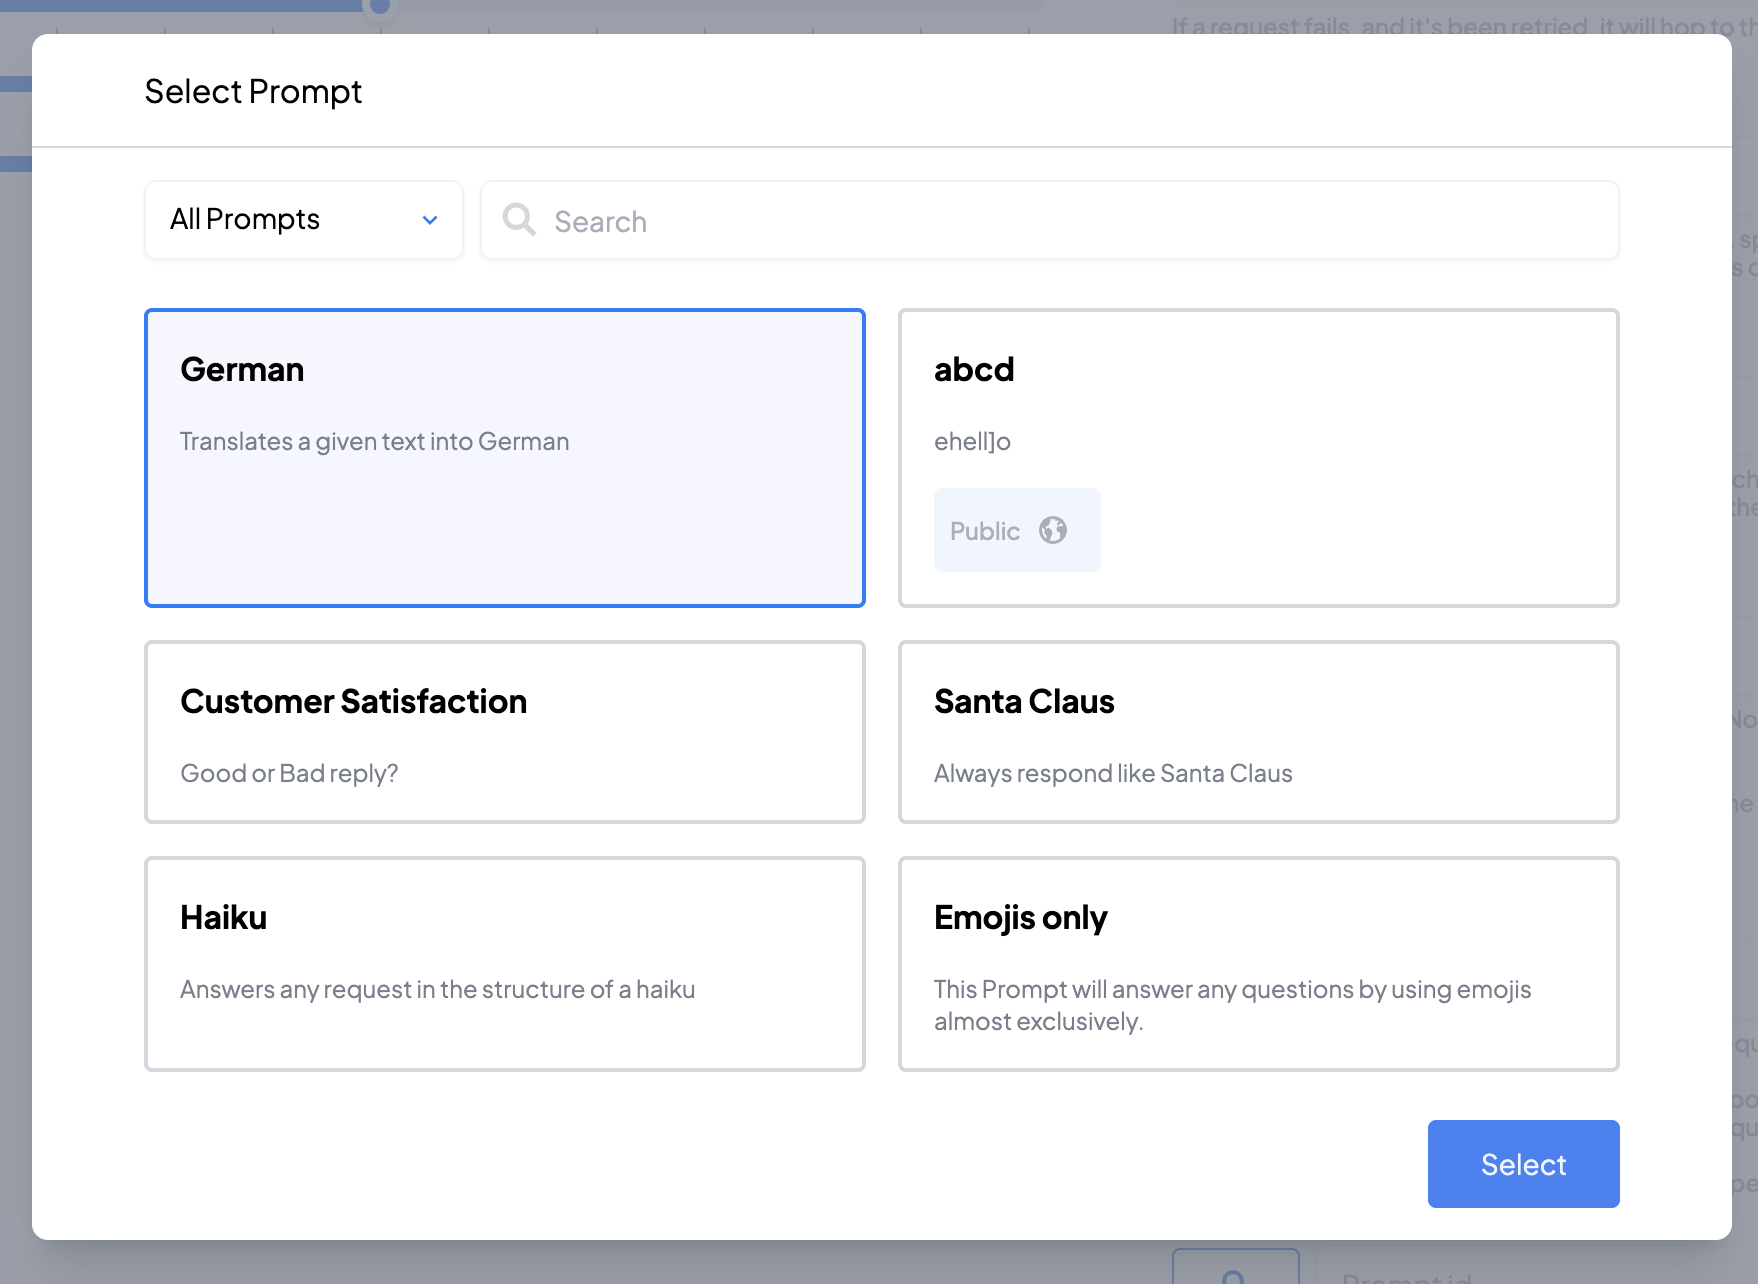 Finally, we save the App configuration changes.
Prompt ID field:5
Perform a request
Your app is now ready to receive requests, so let’s have a look: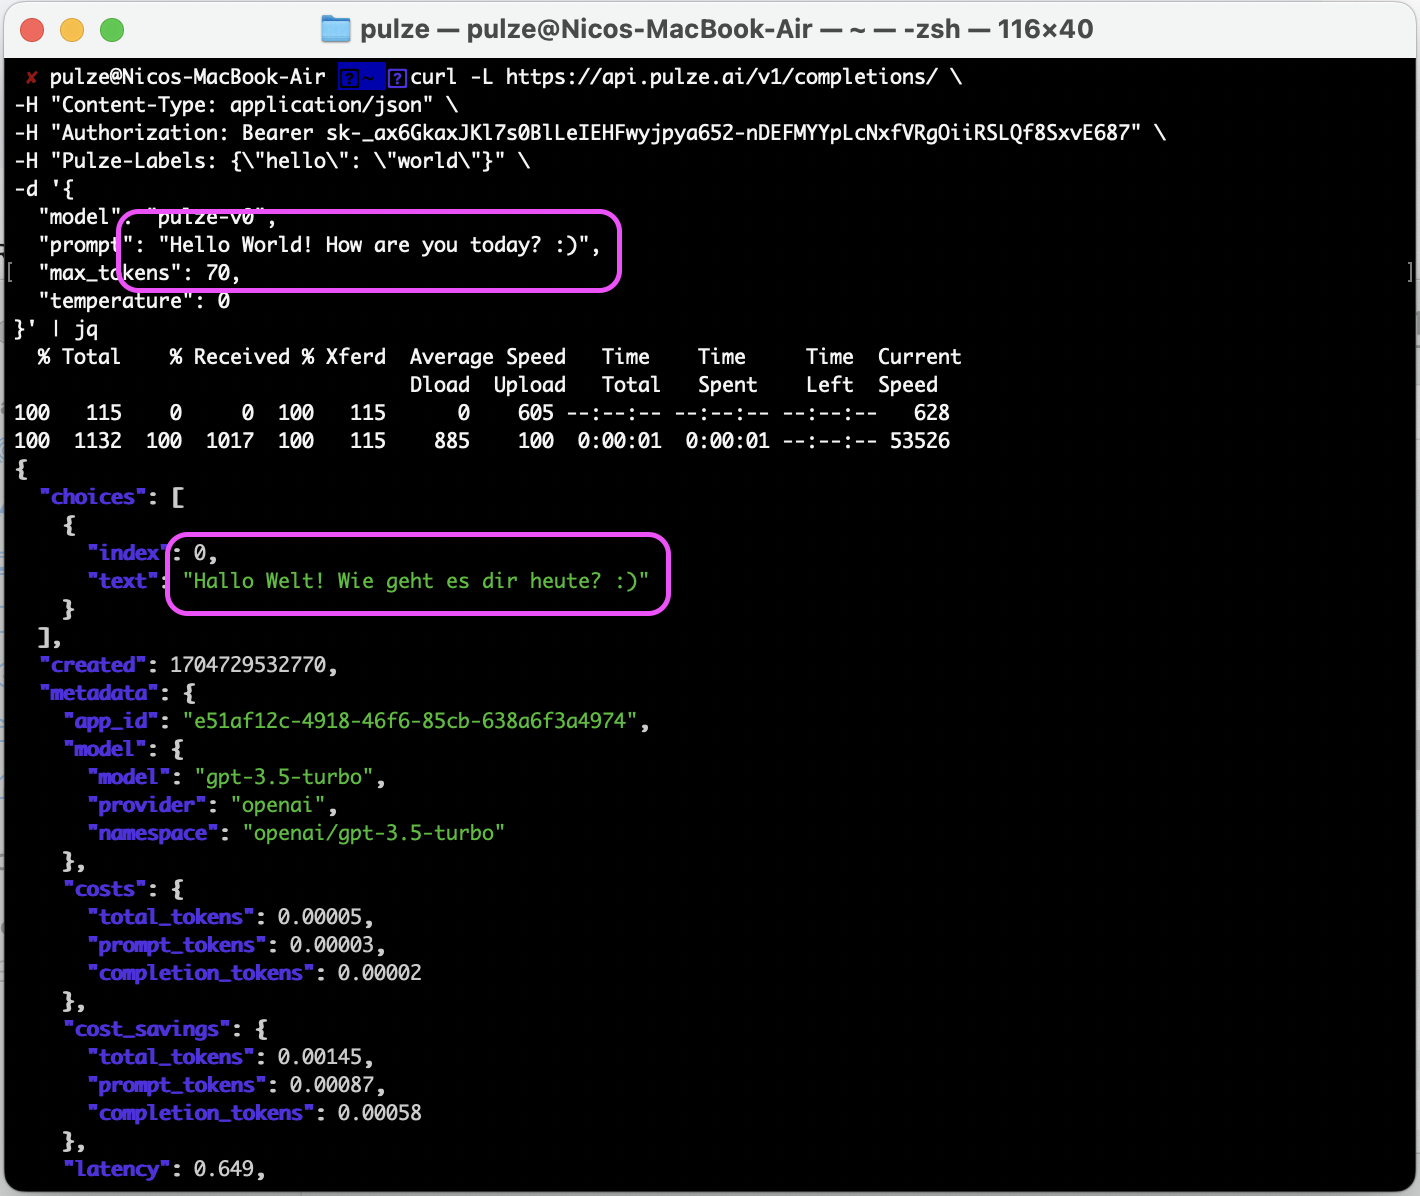 Indeed, without the need to send any instructions, we directly receive an answer: A translated text